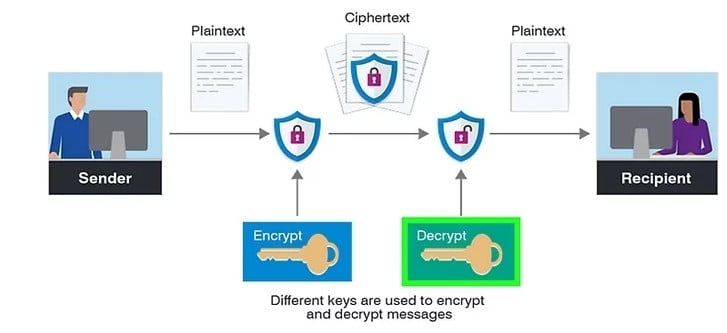
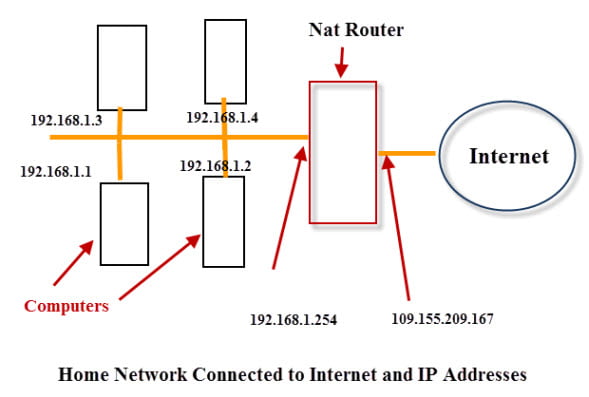
OpenVPN is an open-source software application that implements virtual private network (VPN) techniques for creating secure point-to-point or site-to-site connections in routed or bridged configurations and remote access facilities. It uses a custom security protocol that utilizes SSL/TLS for key exchange. It is capable of traversing network address translators (NATs) and firewalls.
Firstly, verify if VPN interface(tun0) is created using ifconfig command:
# ifconfig
Output should have "tun0" listed. And check the output of below command
# cat /dev/net/tun
Out should be as below
cat: /dev/net/tun: File descriptor in bad state
OpenVPN and it’s dependencies are not available in the CentOS default repositories. So, we should install the “EPEL” repository in order to install OpenVPN and its dependencies.
# wget ftp://ftp.rediris.es/volumes/sites/centos.org/6.6/extras/i386/Packages/epel-release-6-8.noarch.rpm
# rpm -Uvh epel-release-6-8.noarch.rpm
Install OpenVPN using yum
# yum install openvpn -y
Copy the configuration file to its destination:
# cp /usr/share/doc/openvpn-*/sample-config-files/server.conf /etc/openvpn
# vi /etc/openvpn/server.conf
Uncomment below line in the server.conf file:
push "redirect-gateway def1 bypass-dhcp"
push "dhcp-option DNS 8.8.8.8"
push "dhcp-option DNS 8.8.4.4"
user nobody
group nobody
Now we will have to generate Keys and Certificates Using easy-rsa, for that install easy-rsa using yum:
# yum install easy-rsa
The easy-rsa scripts are located by default in the /usr/share/easy-rsa/ directory. Make a directory /easy-rsa/keys inside the /etc/openvpn directory. Copy the scripts as given below:
# mkdir -p /etc/openvpn/easy-rsa/keys
# cp -ar /usr/share/easy-rsa/2.0/* /etc/openvpn/easy-rsa/
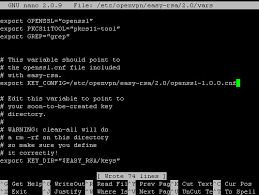
Now we will have to edit the "vars" file with required information:
# vi /etc/openvpn/easy-rsa/vars
Fill up the desired details at correct place. Don't leave any of these fields blank.
export KEY_COUNTRY="US"
export KEY_PROVINCE="NY"
export KEY_CITY="New York"
export KEY_ORG="Organization Name"
export KEY_EMAIL="administrator@example.com"
export KEY_OU=server
Then follow below commands:
# cd /etc/openvpn/easy-rsa/
# cp openssl-1.0.0.cnf openssl.cnf
# source ./vars
# ./clean-all
Then, run the following command to generate CA certificate and CA key:
# ./build-ca
Keep pressing "Enter" for variables, when asked by build-key-server, answer yes to commit.
# ./build-key-server server
Enter the following command to generate DH parameter, and then copy below files to "/etc/openvpn".
# ./build-dh
# cd /etc/openvpn/easy-rsa/keys
# cp dh2048.pem ca.crt server.crt server.key /etc/openvpn
The necessary keys and certificates are generated and placed at correct directory.
Now we are going to generate client certificate:
# cd /etc/openvpn/easy-rsa
# ./build-key client
You must copy all client certificates and keys to the remote VPN clients in order to authenticate to the VPN server. Below are the required files to be downloaded/copied:
ca.crt
client.crt
client.key
On Windows, the path for the files to be copied would be "C:\Program Files\OpenVPN\config", which will come with "OpenVPN Community Edition binaries".
On Mac OS X, the open source application "Tunnelblick" provides an interface similar to OpenVPN GUI on Windows, and comes prepackagd with OpenVPN and required TUN/TAP drivers. Here the destination folder for .ovpn configuration would be "~/Library/Application Support/Tunnelblick/Configurations".
You will need to create an iptables rule to allow proper routing of our VPN subnet.
# iptables -t nat -A POSTROUTING -s 10.8.0.0/24 -o eth0 -j MASQUERADE
# service iptables save
Then, enable IP Forwarding in sysctl:
vi /etc/sysctl.conf
# Controls IP packet forwarding
net.ipv4.ip_forward = 0 =========> change it to 1
Apply new settings and start the OpenVPN server:
# sysctl -p
# service openvpn start
# chkconfig openvpn on
With our certificates now on the client system, we will create another new file called client.ovpn, where "client" should match the name of the client being deployed (from build-key), the contents should be as follows, replacing "x.x.x.x" with your OpenVPN server's IP address, and with the appropriate files pasted into the designated areas.
client
dev tun
proto udp
remote x.x.x.x 1194 #- your OPENVPN server IP and port
resolv-retry infinite
nobind
tun-mtu 1500
tun-mtu-extra 32
mssfix 1450
persist-key
persist-tun
ca ca.crt
auth-user-pass
comp-lzo
verb 3
Make your vpn tunnel start upon boot (this will add the command to rc.local)
# echo openvpn /etc/openvpn/server.conf >> /etc/rc.d/rc.local
# openvpn /etc/openvpn/server.conf
Once done, reboot the server.
Further, you can create and assign new user to your VPN server:
To create a new user we type: (replace myuser with your username)
# useradd myuser -s /bin/false
To create the password we type
# passwd myuser
To Delete a user type
# userdel myuser